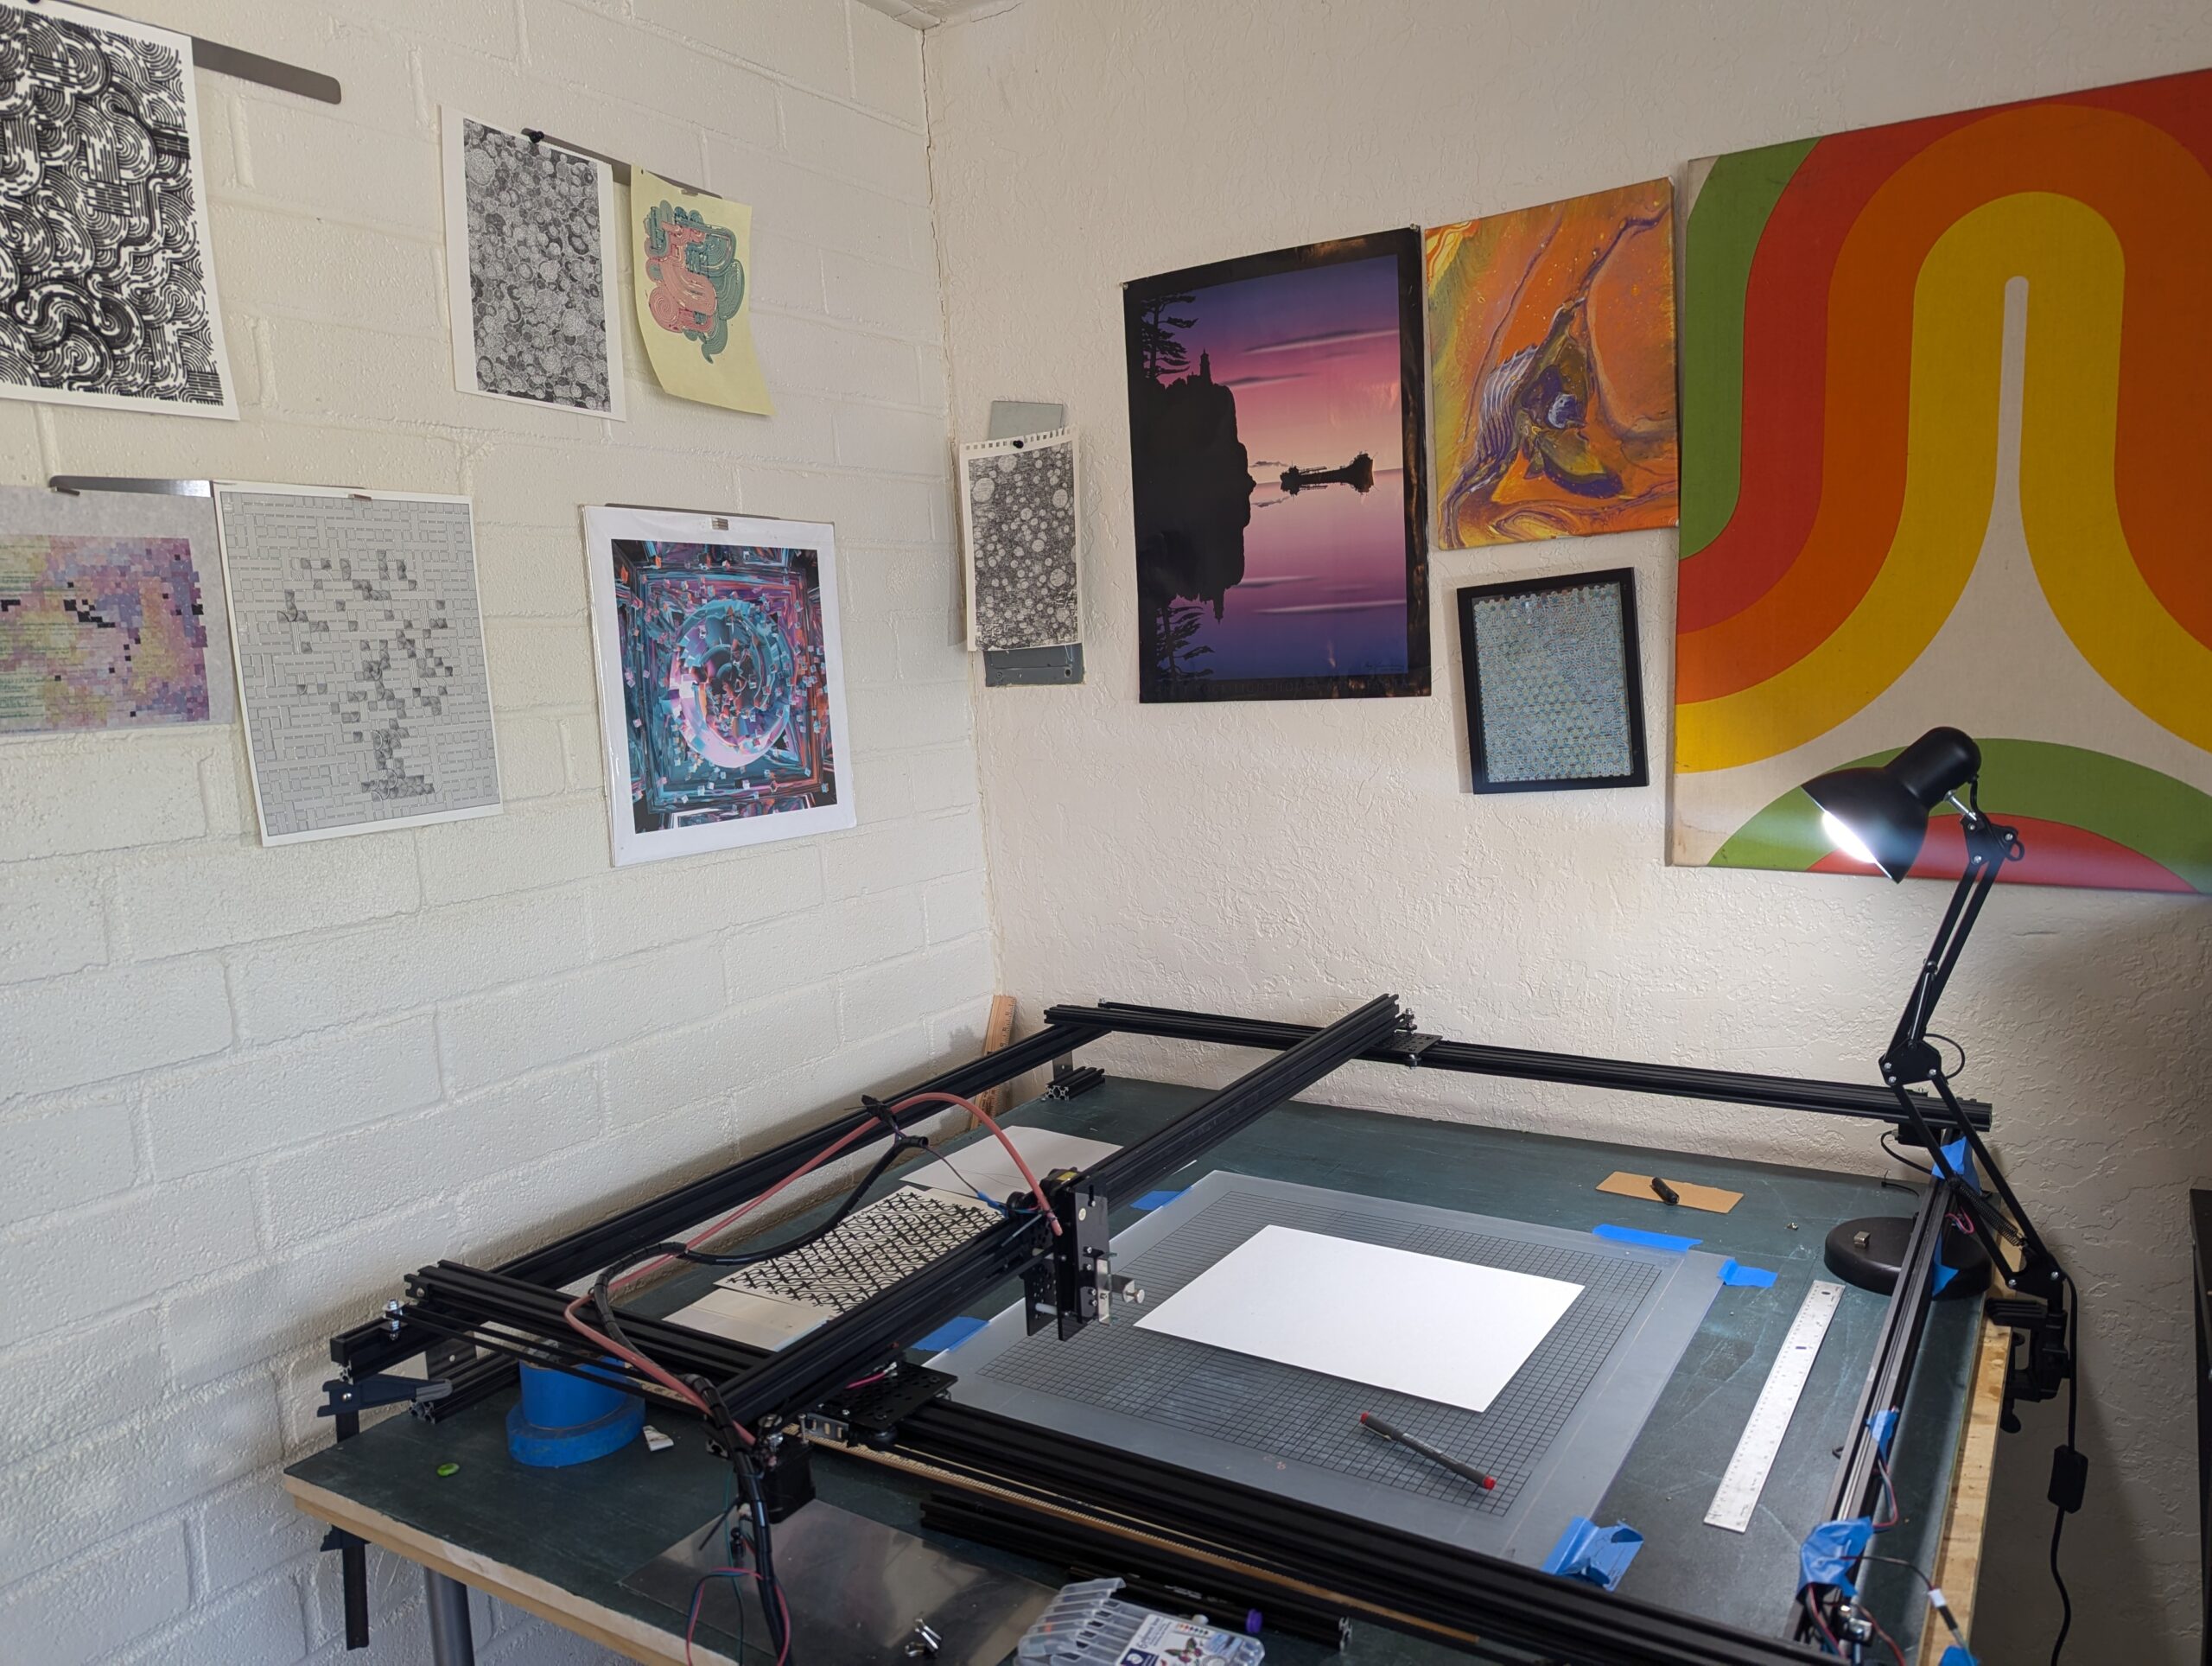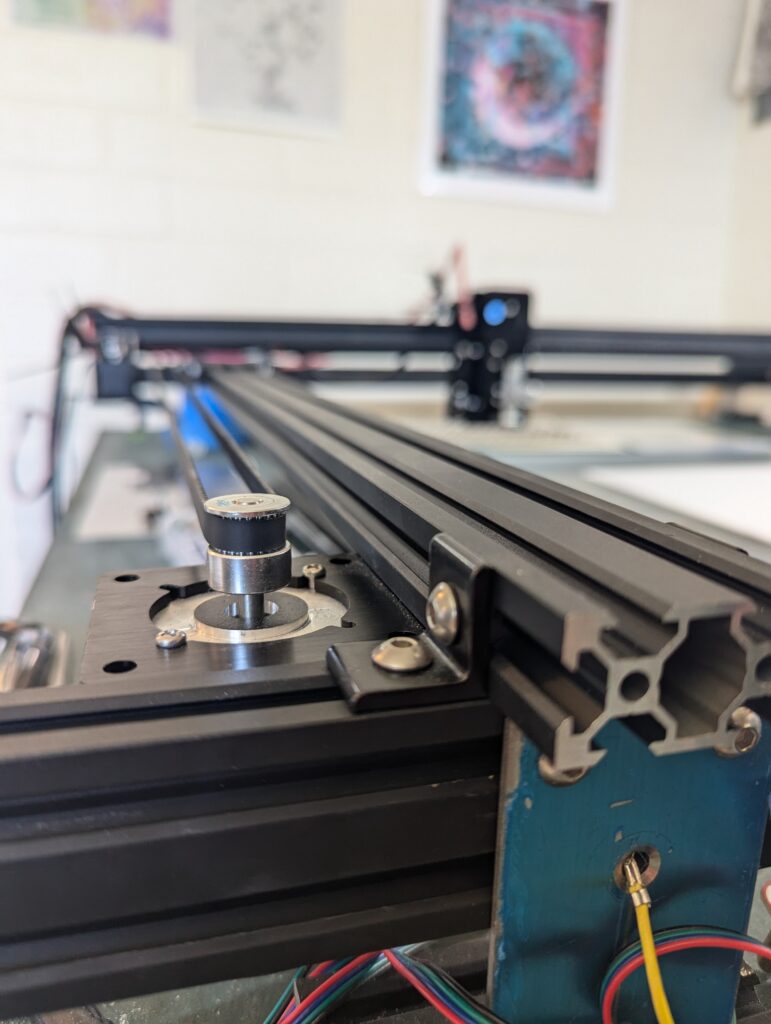
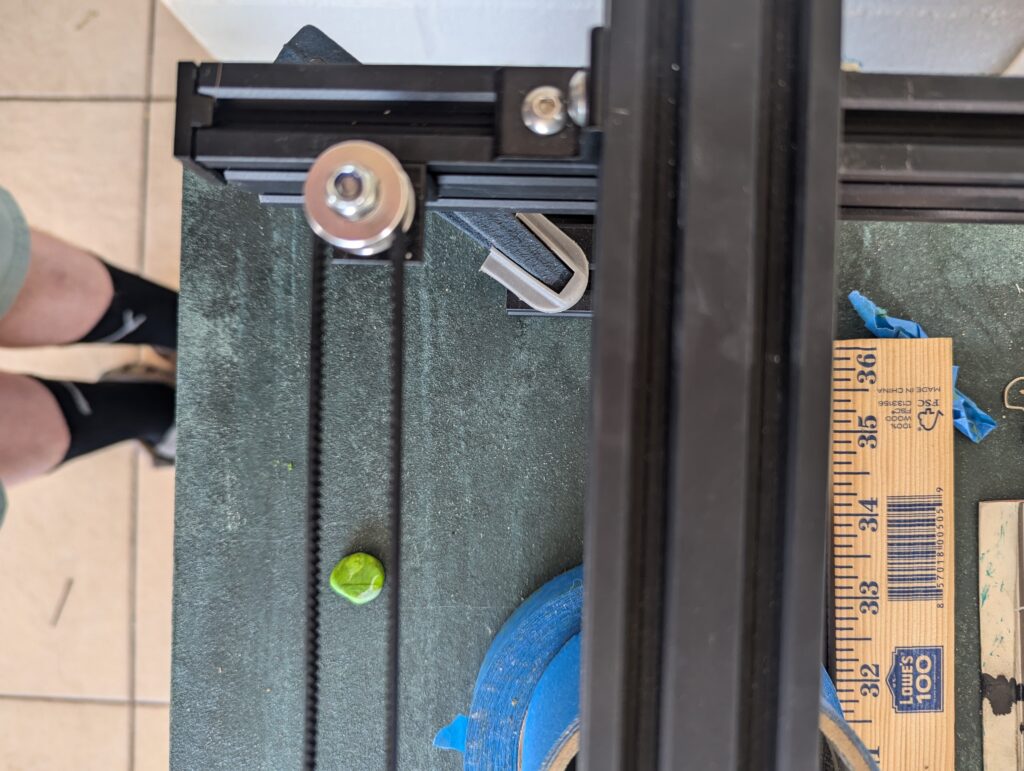
I wanted to write this post to share a parts list to get people started on building a DIY custom plotter if they are interested. I hope you enjoy some of my thoughts. This post assumes an intermediate knowledge of plotters and general CNC. If you have been wondering if building a plotter is possible, read on for some of my takeaways. One thing this is not is a build guide or a step-by-step guide.
Why DIY
I built this plotter after getting a little frustrated with the build area and overall experience with the Bachin T-A4 I had previously used. I got that plotter when I noticed it was extremely low-priced on Amazon. For 170 dollars, I think it was worth it. It had its downsides though. With a 200*300mm draw area, I felt limited, and the plate that it was mounted on wasn’t as flat as I had hoped, leading to issues with pens skipping, among other things. It had extremely simple construction so I got it in my head I would be able to extend it in some way. This idea snowballed into almost a full new build less the Z-axis.
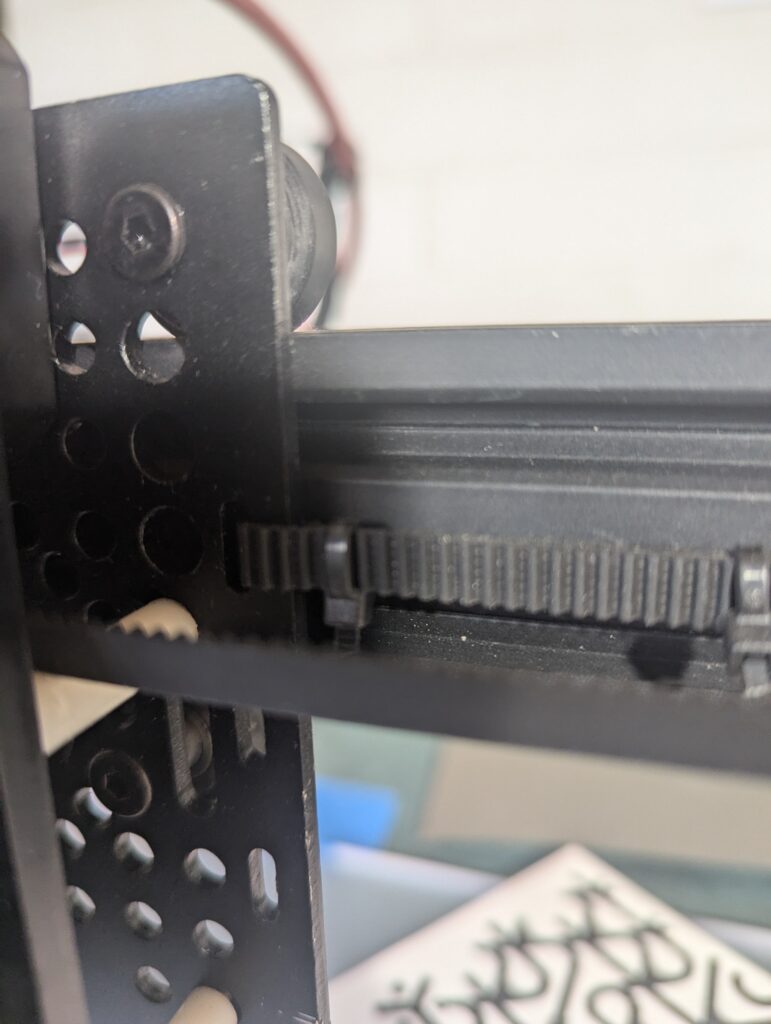
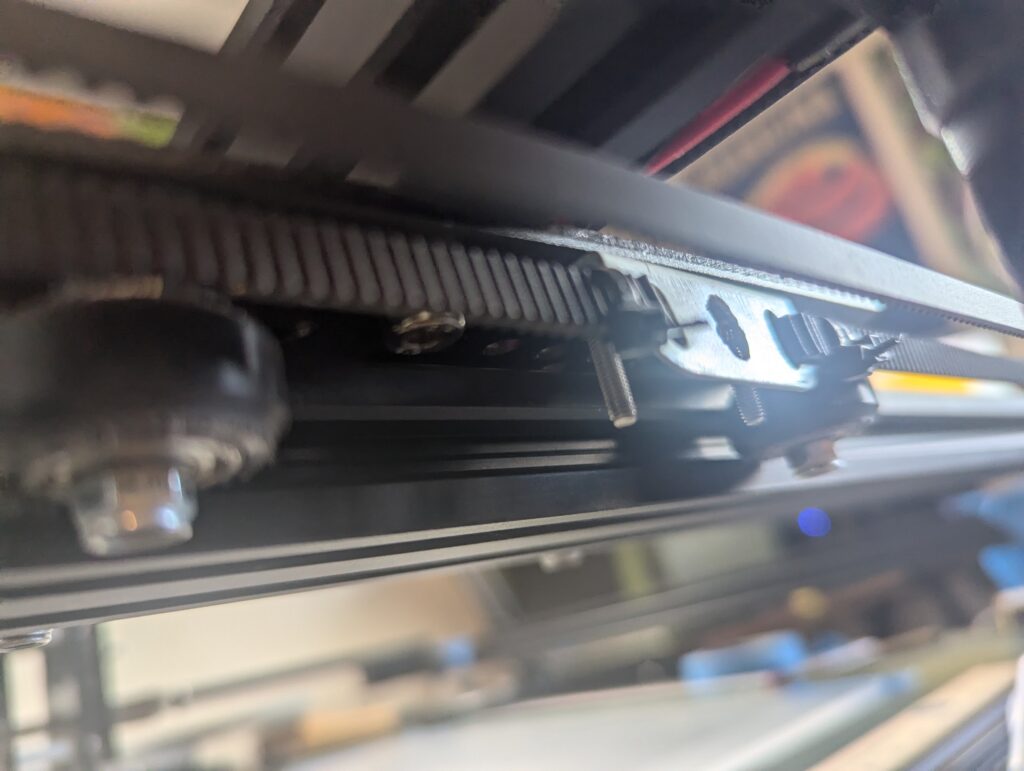
This new plotter is basically an Hbot design, with two steppers on the Y-axis, one on the X, and one on the Z. I think some similar things are on the market from iDraw, and it is very similar and inspired by the acro system by open builds. Their control software was useful during this build because it allows you great visibility into the limit switches, which I will touch on more later. I see similar designs from others in the community, although I’m having trouble finding exactly who. I remember seeing a double-decker system that was a big push for me to put together a build. I say all this to let readers know this design is not “mine”, by any means.
Build Process
As mentioned above, the main inspiration for the build is the Acro system. I was browsing online and found that one night, and it looked fairly simple to put together. I ended up parting out everything over a few weeks and ordered stuff in a bit of a manic state. When everything arrived, I was a bit intimidated as I hadn’t drawn anything up for how to put it together, but it ended up working out.
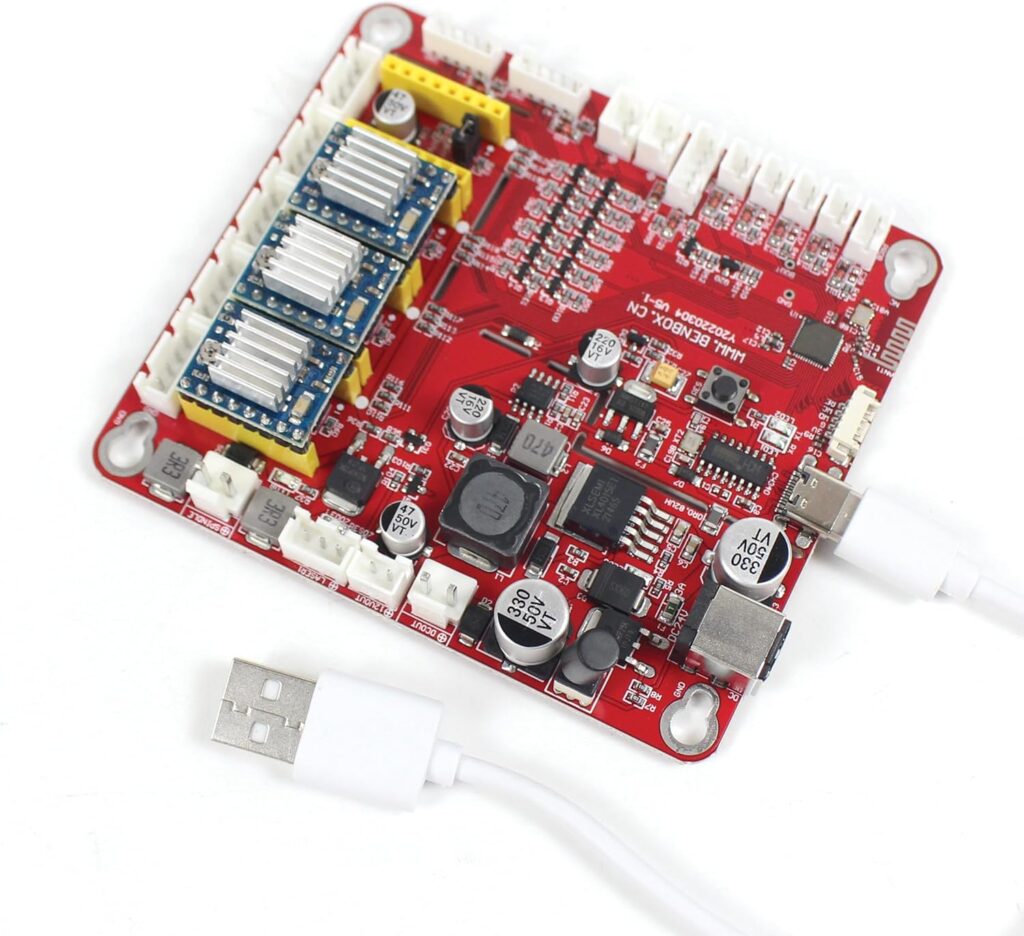
I got a cheap GRBL controller, an “Amazon special” as I like to call things like this. Sold with almost no documentation, it worked out of the box, but to get more information I had to search some wild sites in Russian and Chinese. From my research, this board had a small Chinese microcontroller, with a ch240 controller for USB. It has a lot of functionality, but no documentation is easily available. If I were to do it over again, I would probably spend a little more on a newer board with compatibility with a newer GRBL fork, a 3d printer board, or spend a little less and do an Arduino with a GRBL shield.
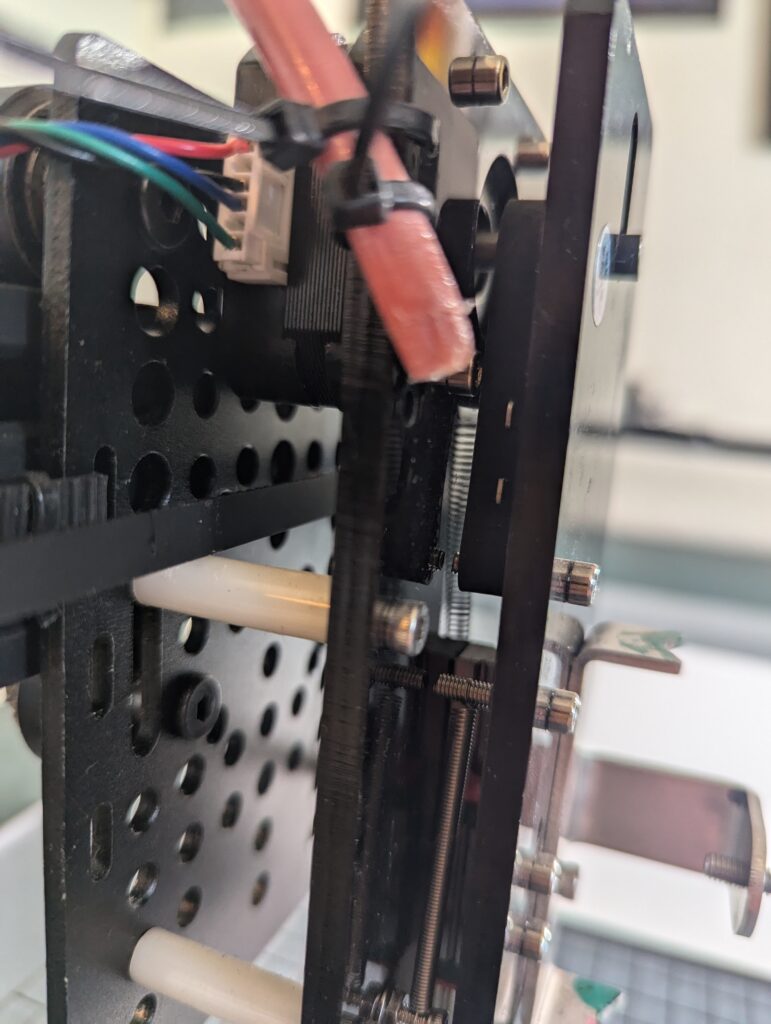
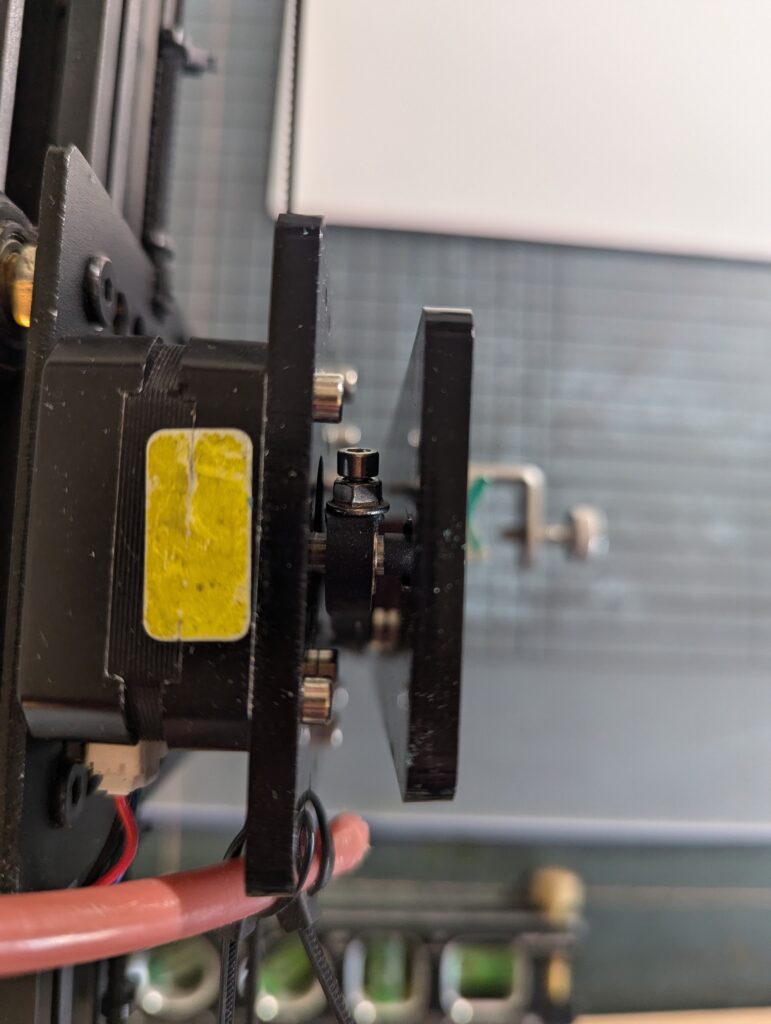
The current Z axis is cannibalized from my Bachin t-A4, but I have plans to do my design drawing from what is popular. It would be nice to hold a wider variety of pens, brushes, and other things. The current Z-axis design is very weird, as it springs back up if no tension is applied. It seems to work okay, but I have a feeling that some of the lines could be cleaner should it work a bit differently. As it stands, it does seem to save the pen in cases of horror, which I can totally get behind.
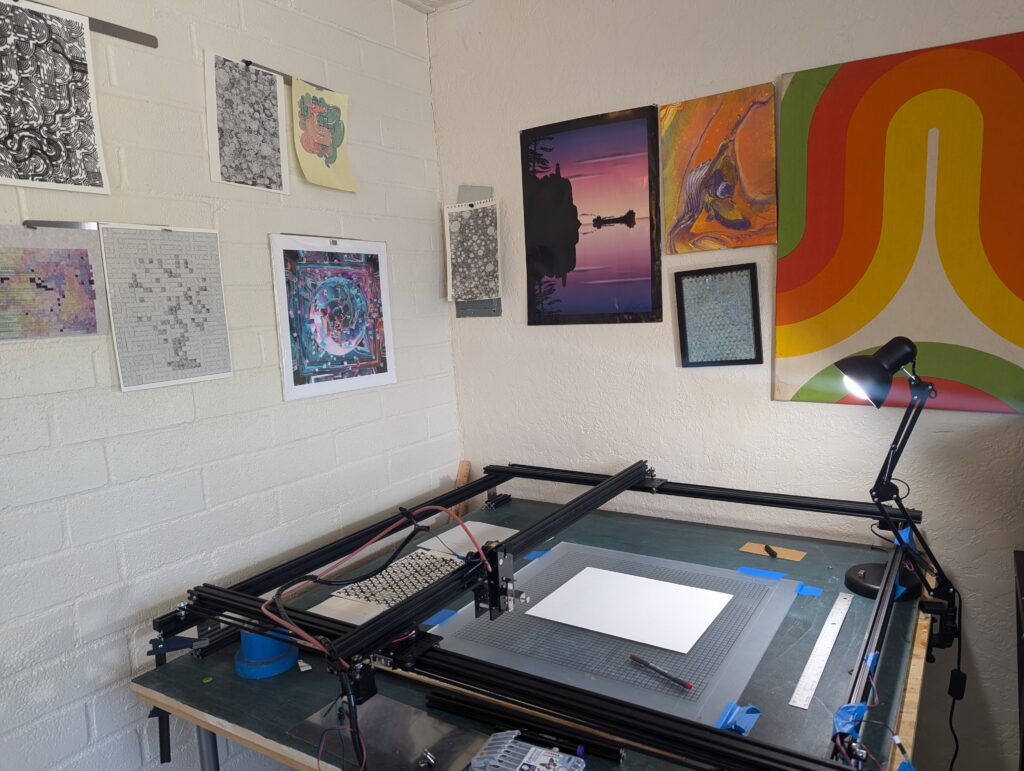
During the build process, I ended up buying some extra mounts that I didn’t need, so I put together a list of parts that should contain everything one would need, except the z-axis. I also had a few extra pieces of aluminum extrusion from my other plotter that I used as feet, with furniture mount plates. As it stands, if you just had the things from this list, you would be able to build something with a draw area of 900 or so mm, accounting for the need to cut some feet.
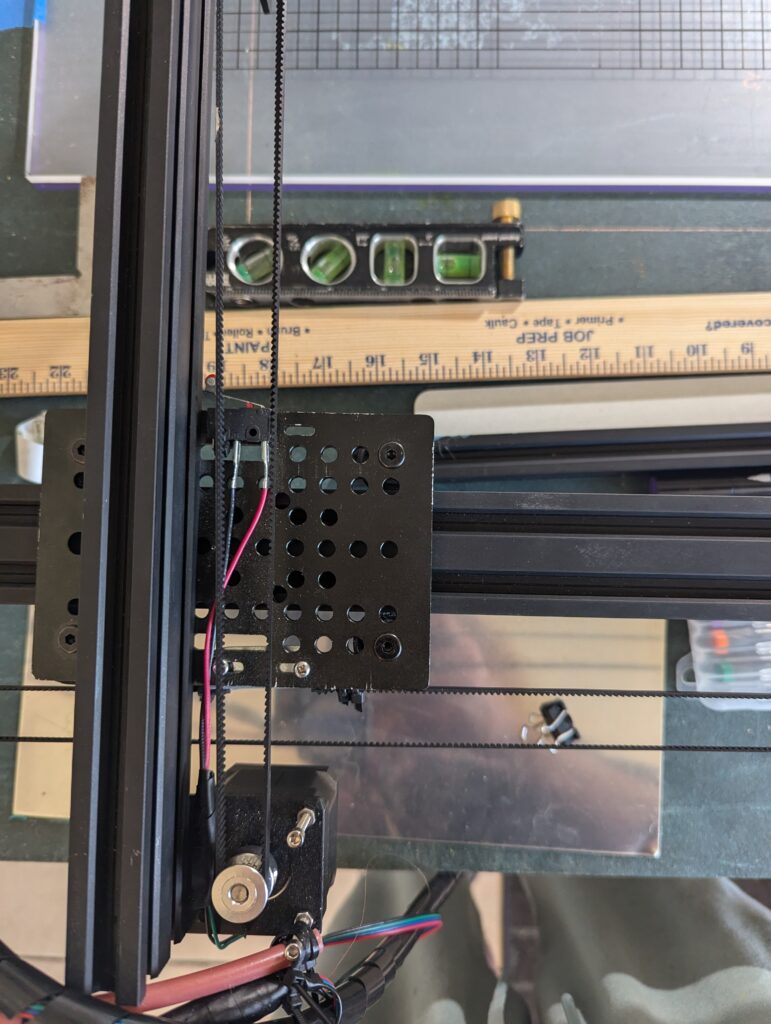
A big part of getting accurate drawings is putting a square machine together. On the very first tests, I did not have the machine square, and it led to some unusual behavior. After doing more alignment, things are much better. I ended up using a precision machinist square for my second alignment.
Costs
The total cost as of the time of putting the list together is about 300 dollars. Add another 150 for a table and miscellaneous stuff, and one should be able to keep under 500 dollars for a large format plotter. If you already had a 3d printer to scavenge parts from, or something of the like, it may be much cheaper.
Table and work surface
The table is made out of some legs and a sheet of 3/4 thick MDF. This seemed like the cheapest way to get a large flat surface area. I was lucky enough to have the hardware store cut it in half when I bought it, so no major power tools were required for the build. The sheets were sanded, and glued together. I took some legs from another table I had lying around and bolted them to the sheet. Once sanded and painted it makes for a reasonable surface, although if I were doing watercolor or something I would definitely treat it more as a spill could be devastating. One might be able to find a set of cheap legs for around 30 dollars I would think.
Because the work surface is not attached to the plotter itself, I have clamped the machine to the table to make sure that I cannot accidentally push things out of alignment.
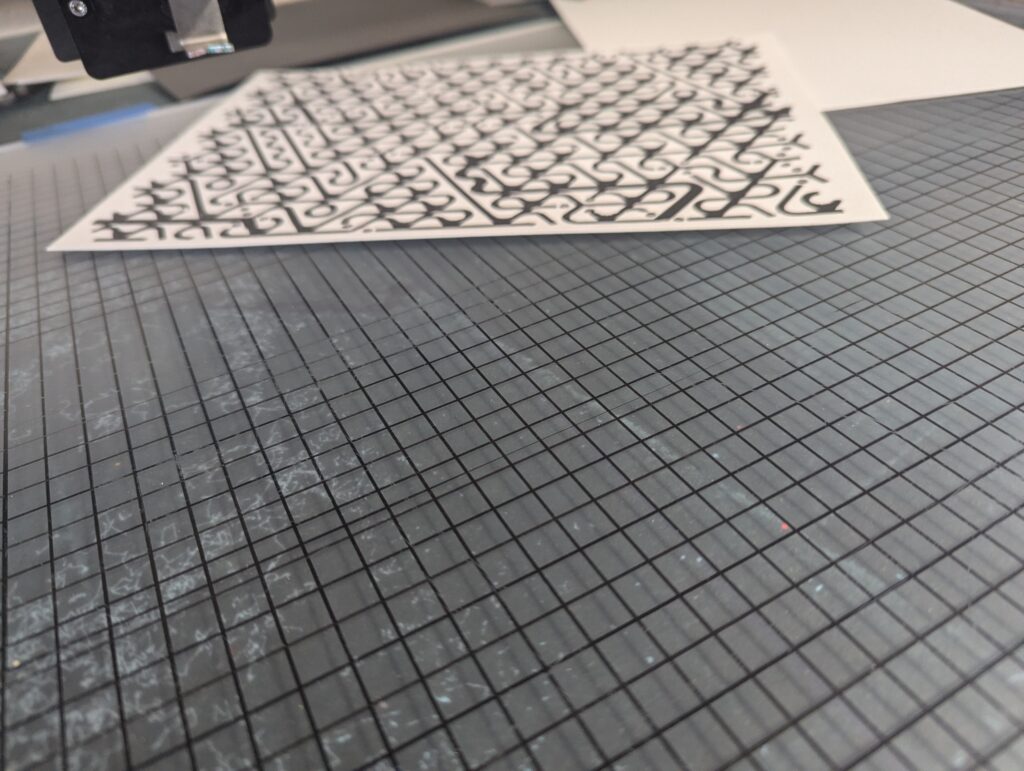
I am currently using an acrylic sheet for a work surface. I was running into some spots that were small bits higher or lower leading to skips and stops on pens. Honestly, it’s probably a combination of paper and surface, but I figured an acrylic sheet was the most cost-effective way to get a flat surface that could be reused for something else later if it didn’t work. I ended up drawing grid lines on the piece to help me align papers etc. Another idea I’m floating would involve using the plotter itself to sand the work surface down to flatten it. I think this would be super cool and meta but I haven’t worked out the particulars. I consider the current alignment solution to be pretty fragile, and I see why most plotters seem to offer a mounted work surface to cut out a variable.
Challenges and improvements
One challenge I have been thinking about is paper mounting. Sprays seem to be a good option, but I’ve been using tape mostly here. Magnets are okay for metal surfaces, but they can transfer gunk if not cleaned readily. I think the ideal solution would be something like an air hockey table in reverse. I have seen commercial offerings for such things, but I wonder about the logistics of just drilling a few thousand holes into a box and hooking up a vacuum. Would that work?
Limit switches are another thing that I need to do more work on. I did implement them, and they worked, but they were causing some electrical gremlins it seems. Plots would alarm for seemingly no reason. After doing some troubleshooting, I probably spliced some wires badly, so after disconnecting them, the alarms stopped. It is easy to just set 0 near the paper’s edge and plan the plot accordingly, so I haven’t looked into it too much. What I have looked into are options for sensorless homing with newer drivers, although I think that would be another reason to swap out the GRBL board for something else. I need to do more research on those who have been using 3d print boards for plotters as well, such as the Marlin firmware fork. It would be cool to be able to introduce auto-leveling to draw on 3d objects or account for minor differences in paper thickness.
Conclusions
This design I consider to be somewhere between an alpha and a beta stage. It can get jobs done, but there could be a lot more cool stuff. A camera mount, more precise gearing, nice case for the board. I figure this can at least give others who are thinking about building a plotter a bit of hope that even if things aren’t perfect, you can probably make it work and make everything better over time.
Overall this has been a really rewarding build, and something I plan on iterating on in the future. I’d welcome any feedback or ideas. Feel free to hit me on any social if you have questions. Below is a list of parts for the plotter, and some tools and other hardware that would be required. I am probably missing a few things but I hope it helps someone out there!



| Title | Comments | Price | Quantity | Has | |
|---|---|---|---|---|---|
 | Aluminum Gantry Plate 20mm to 80mm Universal Table Linear Actuator Gantry Board for CNC Router 3D Printer (Board with 4 Plastic Pulleys and Bearings) | $13.04 | 3 | 0 | |
 | SIMAX3D GT2 Open Timing Belt for 3D Printer, 5 Meters (16.4 Ft) Length Open Belt 2mm Pitch 6mm Width Rubber Fiberglass Reinforced for RepRap Prusa i3 3D Printer | $9.99 | 1 | 0 | |
 | 6Pcs 1.5M/4.9ft Stepper Motor Cables XH2.54 4Pin to 6Pin White Terminal Paralled Motor Wires for 3D Printer Stepper Motor | $9.99 | 1 | 0 | |
 | STEPPERONLINE Nema 17 Stepper Motor Bipolar 1.5A 42Ncm 42x42x38mm 1.8deg 4 Wires with 1m Cable and Connector (3 Pack) | $25.99 | 1 | 0 | |
 | RATTMMOTOR CNC Controller Board 3 Axis GRBL USB Port CNC Router Engraving Machine Control Board for DIY Mini CNC Wood Router Machine CNC 1310, 1610 PRO, 3018 PRO, 3018 PRO-MAX | $25.00 | 1 | 0 | |
 | MKBKLLJY 15Pcs Micro Limit Switch 5A 125 250V AC SPDT 1NO 1NC Short Hinge Roller Levr Arm Switch Snap Action Button Type 3 Pins Micro Limit Switch with Roller Lever Arm Black and 45pcs Terminal Wires | $8.99 | 1 | 0 | |
 | Zeelo 5M GT2 Timing Belt 6mm Width + 4pcs 20 Teeth 5mm Bore Timing Pulley Wheel + 4pcs Idler + 8pcs Tensioner Spring Torsion + 4pcs Gear Clamp Mount Block with Allen Wrench for 3D Printer | $16.99 | 1 | 0 | |
 | Boeray 10pcs 2 Hole Black 90 Degree Inside Corner Bracket Kit for 2020 Aluminum Extrusion Profile 20×20 Slot 6mm with 20pcs t nut + 20pcs hex screw + 1pcs wrench | $14.99 | 1 | 0 | |
 | Masendelk 4 x 2 Inch Flat Straight Brace Bracket, Silver Flat Mending Plate Stainless Steel Fixing Corner Brace for Wood Furniture ( 100 x 50 x 2mm, 12 Pcs) | $15.99 | 1 | 0 | |
 | ThtRht 4 Pack 3D Printer 42-40 Stepper Mounting Plate Fixed Plate Bracket Mount Holder Stand for Creality NEMA 17 42 Series 2020 2040 Aluminum Profile Ender 3 Pro/Ender-5/Cr-10/10s/S4/S | $5.88 | 1 | 0 | |
 | Spiral Cable Wrap – 20 Ft 1/2″ Spiral Wire Wrap Cord Covers Bundle Sleeve Hose for Computer Electrical Wire Organizer (1/2 Inch-20Ft) | $6.99 | 1 | 0 | |
 | Coolerguys 12v Ultra Quiet Fan for Pi Devices, 3D Printers, and Microelectronics (50x10mm) | $5.95 | 1 | 0 | |
 | Aluminum Extrusion European Standard 2040 V Slot Anodized Linear Rail for 3D Printer Parts and CNC DIY 1220mm 5Pcs Black | $89.99 | 1 | 0 | |
 | Gantry Plate, Aluminum Gantry Plate with Pulley Wheel Black Anodized 0.8 to 3.1in Gantry Plate Set for 3D, 3D Printer Accessories (Transparent Pulley) | $16.99 | 1 | 0 | |
 | WINSINN GT2 Idler Pulley 20 Toothless 5mm Bore 10mm Width Timing Pulley Wheel Aluminum for 3D Printer (Pack of 5Pcs) | $9.99 | 1 | 0 |
List of tools:
- fairly accurate measuring square or device. Maybe a dial gauge.
- Allen keys
- screwdriver
- m3 and m5 screws, bolts, t-slot hardware.
- zip ties
- wood clamps
